
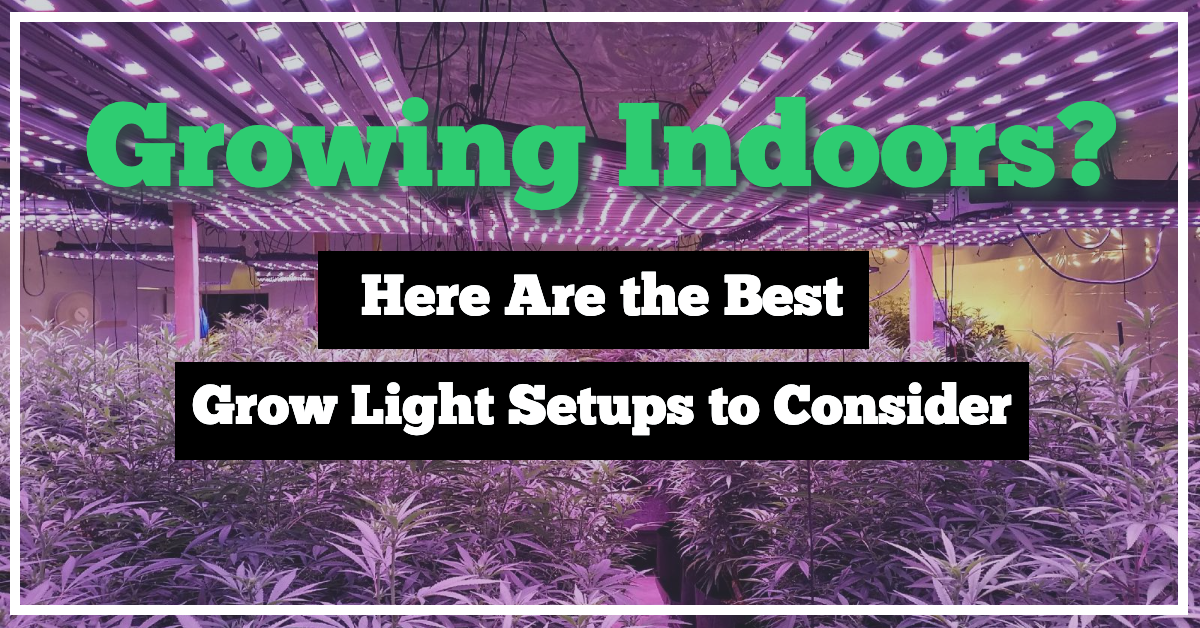
For sure, you have read and watched plenty of reviews and product descriptions of grow lights. And it can be overwhelming to choose which one is best for your indoor plant. Especially if you are a beginner to growing cannabis indoors, you need to give your light setup some thought. Not only will you have to spend on the actual fixture, but you are also funnelling money for power consumption.
Now, if you choose something that’s not as appropriate, the least that can happen is that you don’t get the full potential of your strain. Worst case, your indoor setup may overheat and cause irreversible damage to your plants. Before jumping into the possible grow light selection you can have, let’s look into the footprint of light setups.
Light Footprint

To understand how grow light setups work, you need to know how their footprints work, so you can plot out an efficient light setup.
When grow lights cast their light onto your plant, this area where the light shines is the footprint. The footprint of your grow light depends on the intensity and its hanging position.
As a rule of thumb, the higher the light is, the less intense the light will be on your plants. If you have a grow light that is quite bright, consider hanging higher.
Another contributing factor to the footprint is the spacing of your grow light. If you are using different grow lights in a single area, consider the overlap. Overlaps are not bad and can be beneficial when you combine different lights. Don’t space them too close, as the intensity can harm your plants and cause burns. But don’t put them too far apart, as some plants may not get the same amount of light.A good place to start adjusting your grow lights is to put them four (4) feet apart and check from there the intensity of the lights.
Check the Grow Area Size

Matching the footprint of your grow light does not mean matching it to the size of your grow tent or room.
The intensity of the grow light is often at the center of the footprint and dwindles outward. That means light intensity is not equal, even as manufacturers try to make them balanced.
Light dissipates, so you got to factor that into your indoor setup. You can probably try drawing the light closer, but that also increases the intensity and can be harmful to your plants.
You can also invest in a par meter to help you optimize your light setup. Par meters help you measure light intensity so that you can identify bright and weak spots in a footprint.
Having one will be a great boost to your indoor grow area.
Grow Light Setups
You get the ideal grow light setup when you combine several fixtures.
These lights will have specific purposes in the different stages of growth so that you can maximize your yields.
While there are many grow light fixtures available that say they work in every stage of growth, you stand to benefit when you set up supplemental lights in your indoor garden.
The High and Low Intensity Setup
Industry standards for setting up grow lights call for having a high-output and full-spectrum LED or HPS light above your plants and a lower-output, blue spectrum lighting aimed at the side of your plants.
The high-output lighting, or grow lights that are brighter than other fixtures, serves as the primary source of light from the overhead. These are usually HPS or LED lights. The blue-spectrum light serves as a supplemental light, often from an MH bulb or a fluorescent or LED. If you have bar lights, they will work for this purpose. This light hangs between the rows of your plants. They are usually installed about one-third down from the canopy.
Now, why these two setups?
The high output light takes care of the nourishment and stimulates growth and bud production in your cannabis lights.
The red light spectrum in your high output fixture also helps shorten the growth cycle. But only having the high output light will make your plants grow thinner than usual, which can be detrimental for the lower parts of your plants.
The supplemental light takes care of the lower parts of your plant and triggers thicker growth and bud growth in the lower parts of the plant.
This lighting also helps leaves grow and contributes to the quality of the buds you harvest later. Now you might ask: “Would the results be bad if I don’t use a combination of lights?”
And the answer is: no.
It will still depend on how you set up the lights you have. But even if you set it upright, the yields won’t be as good as using different spectrums and intensities in combination. What was listed above serves as the core foundation for setting up grow lights. If you are new to indoor growing, this setup serves as the foundation of your learning in operating grow lights. But there may be other scenarios you ought to know.
Single Light Setup

Not everyone has the budget to do a multiple light setup. And that’s okay. You can also opt for a single light setup, especially if you are starting out. For this setup, look for a full-spectrum grow light.
Full-spectrum grow lights are able to give you a variation of lights that work for vegetation and flowering. If you are starting out, a full-spectrum light is a good reference point to get acquainted in grow lights.
Grow Low
Now, for many indoor growers, space is a challenge. More often than not, you will have limited headroom to work with. With the suggested setup above, you might overgrow your plants to a height that may not fit.
What should be done to resolve this? The challenge here is to grow them low with thick foliage without compromising quality.
The best solution here is to have full-spectrum LEDs for your overhead since they emit less heat. Find a grow light with a built-in heatsink so that you can manage overheating in your indoor grow area.
You can supplement the overhead with blue spectrum LEDs with a color temperature between 5500K and 6500K. These will help you maximize the growth potential of your cannabis, even with limited space.
Limited Plants for Growing
Now, in cases where you have a limited number of plants, mainly due to existing laws in your area, you would want to have the highest yield, even with a few plants.
How should you go around this?
It is encouraged that, for every plant you will grow, to put a 1000-watt HPS grow light or its equivalent LED light.
You then match it with a 400-watt MH bulb without a reflector for every intersection of rows of plants. You can also opt for equivalent LED bulbs, if available.
So, if you have four (4) plants in a 2 x 2 setup, that would be one (1) MH bulb hanging where the plants intersect.
Now, this setup is a heat magnet. That is why it is encouraged to go for available LEDs that are equivalent to their HPS or MH counterparts.
But if you can’t find any, make sure you have enough ventilation to disperse heat to manage the temperatures inside.
The ideal wattage needed is 30 watts per square foot of growing space. What is listed above is more than double, so you can still scale these specifications down.
Conclusion
Growing indoors is not an easy task, as lighting is often one of the biggest hurdles you need to face. But with the setups suggested above, they can help you get started with this project.
The nice thing about these setups is that you can scale them as needed, should you decide to scale-up your production. With that said, you can now take on indoor gardening with more confidence.


